Auteur(s) FaVdB
CC-BY-SA
réalisé avec oStorybook 6.02a
How to create an oStorybook project.
Sommaire
1. Introduction
2. "Normal" mode
2.1 Create
2.2 Choosing a title
2.3 Where to create the file
2.4 General information
3. Import
3.1 Preamble
3.2 Making import
3.3 Several files
4. Links
4.1 Introduction
4.2 Limits
Creating an oStorybook project involves much more than just creating a file with the “osbk” extension. In fact, for your writing work, you'll certainly be doing some research, and you may need images, videos and much more. Once you've finished creating the project, you're strongly encouraged to complete the basic structure with a set of sub-folders to suit your needs.
New projects can only be created in the “architect” mode. As a reminder, there are two types of user interface:
The first time you start oStorybook, you can choose one of these two modes. Thereafter, when the software is launched, the last mode used will be activated. See the user interface guide for more details.
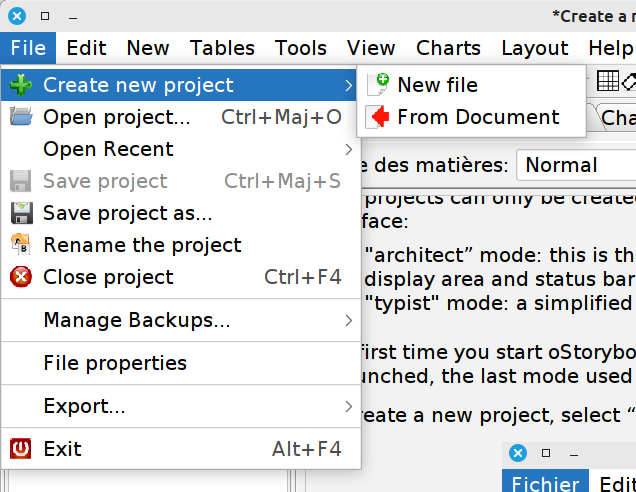
To create a new project, select “File > Create new project” from the menu.
This will prompt you to choose between “New file” and “From document”. We'll look at the first option here. The second will be described in the guide "Import a document" as a new project.
Once you've chosen to create a new file, you'll be asked to give your project a title. Don't worry about choosing a title, as you can change it at any time.
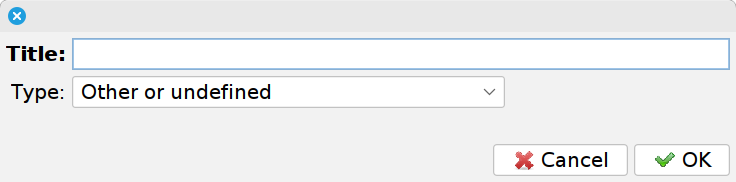
Regarding the type, if you have a good idea of the nature of your project you can choose between:
This could come in handy later on. As for the title, you can come back to this later.
Once you've entered the title, you'll need to indicate where your file should be created. We recommend that you create a dedicated folder for each project; see the specific guide to practical project organization.
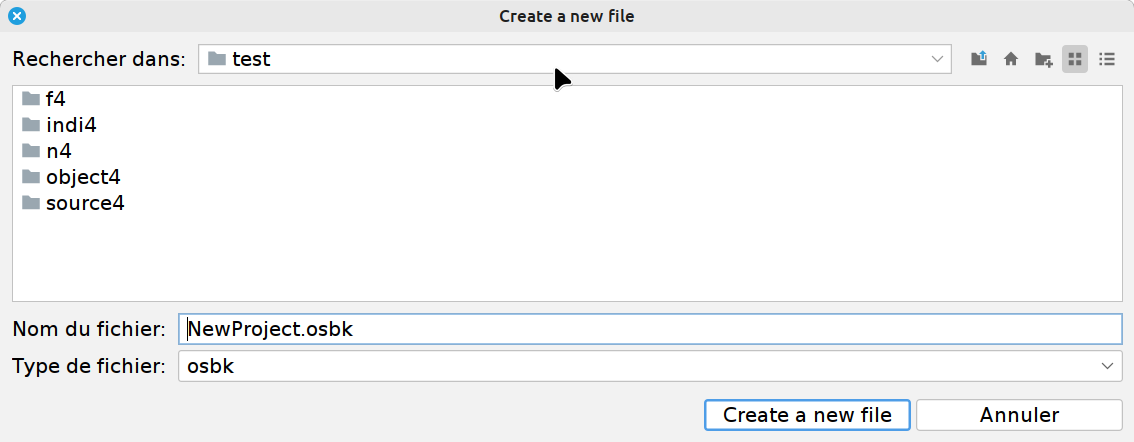
In this example, I've chosen to modify the proposed file name by deleting a few words to give “NewProject.osbk”. Note that if you forget the “.osbk” extension, it will be automatically added.
Finally, go to File > Properties to open the dialog for entering general information about your project, such as author, copyright, etc...
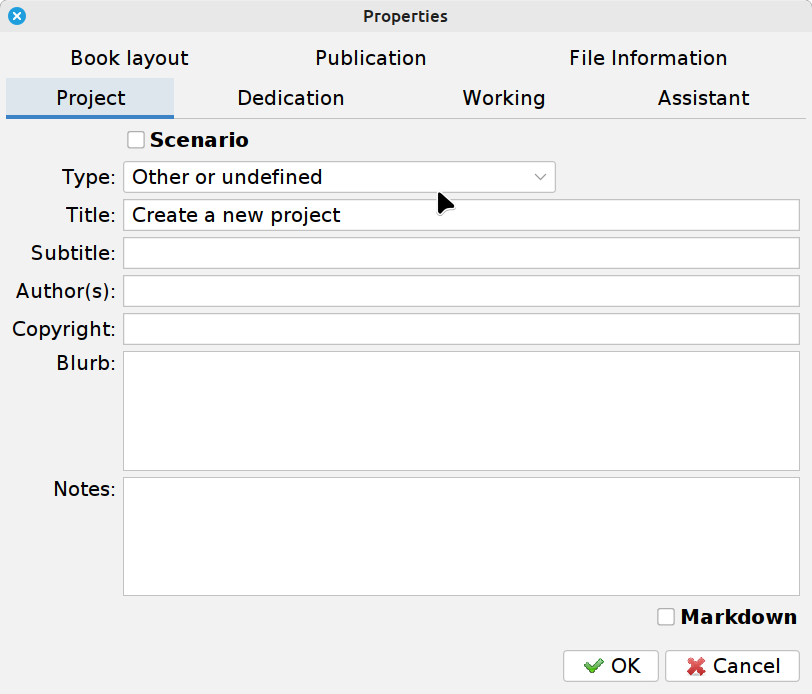
At this step, I usually just validate. As with the title, I can come back to this later. But I recommend that you at least enter the author's name.
That's all, then the oStorybook display should look like this (default layout).
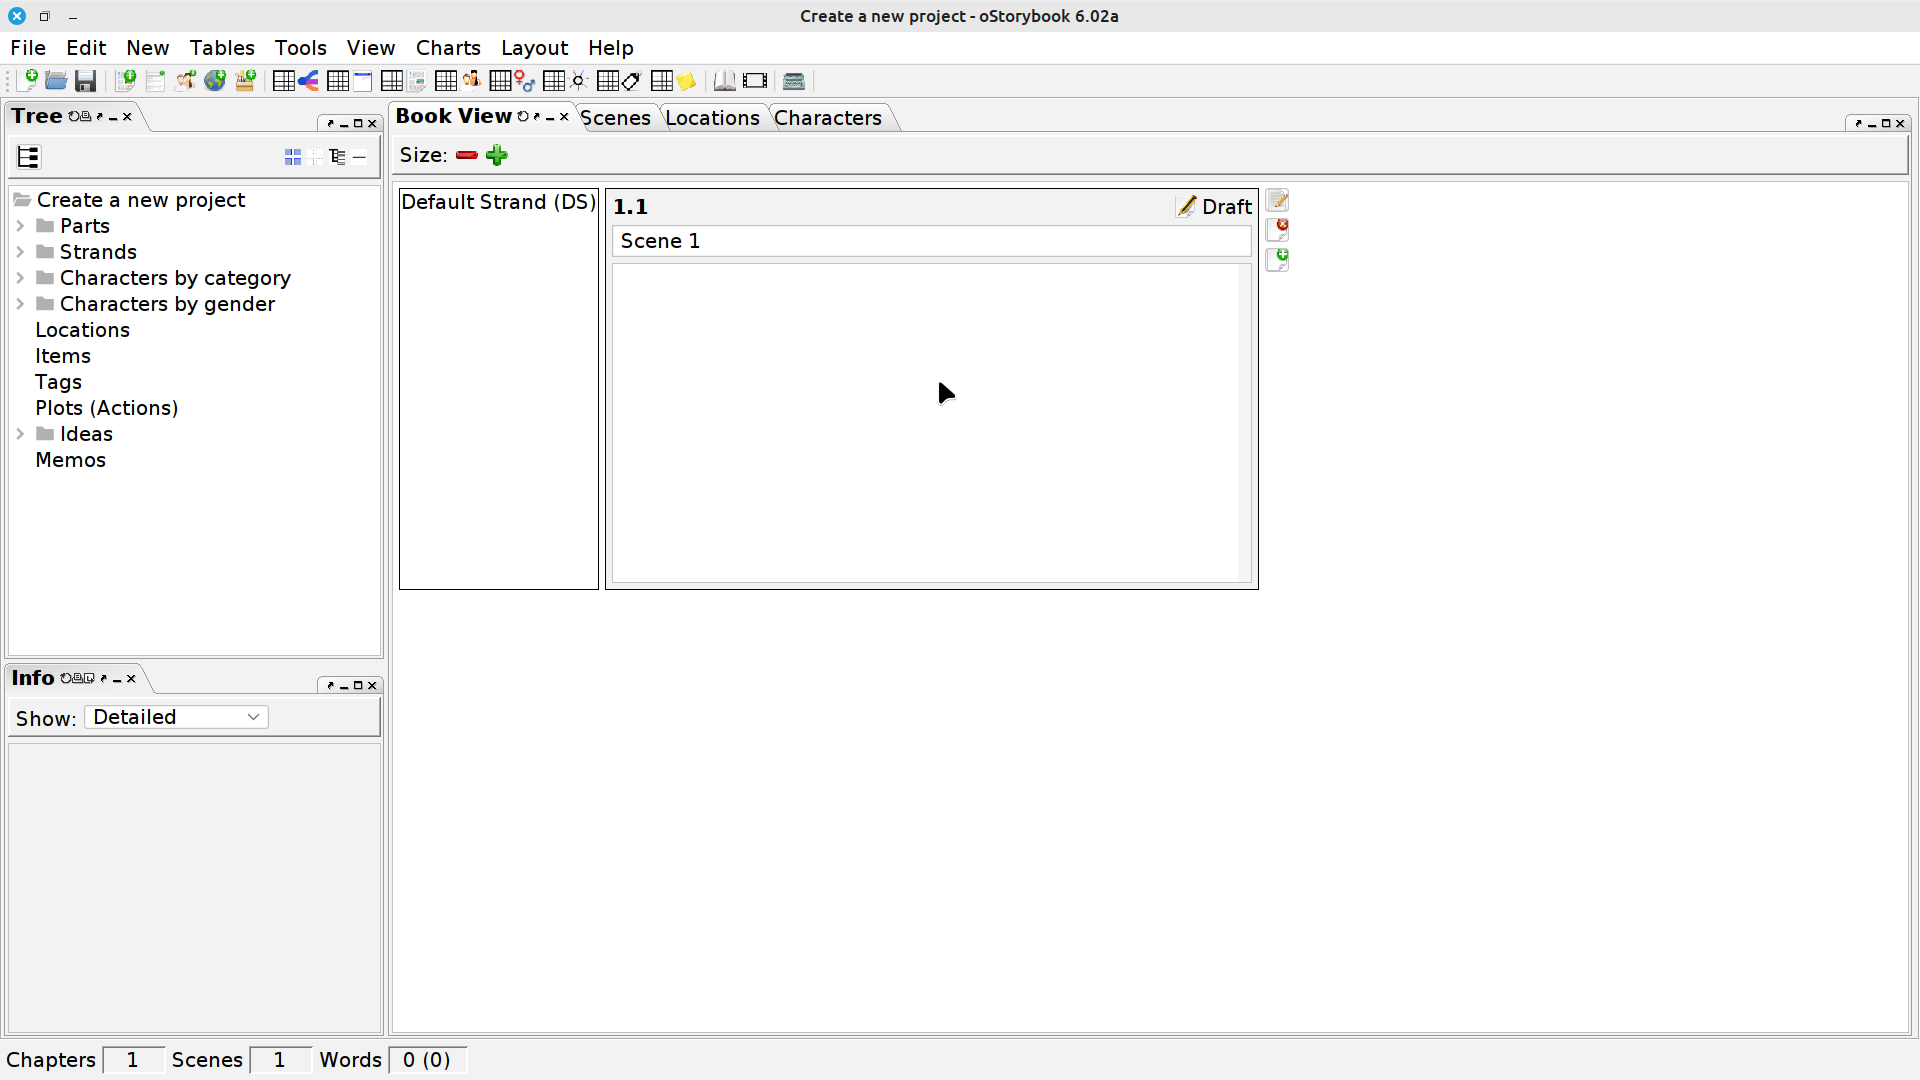
You can start work by creating your parts, chapters, scenes, etc...
Before discovering oStorybook, you used your existing office software, Word or Writer. You don't need to re-enter everything in oStorybook, you can just import your file.
Here are a few rules to observe and adaptations to implement.
You can use headings in your text, but be aware that:
Other levels will not be interpreted in any particular way.
In oStorybook, the text of a scene may not exceed 32767 characters. This size includes not only punctuation but also all necessary formatting codes. During the import process, if a scene's text exceeds this limit, it will be split into as many scenes as necessary. In this case, new scene titles will be created. It's up to you to modify them afterwards.
However, 32767 characters correspond to more than a dozen printed pages. It's very rare to write a novel with such a large number of scenes. A scene is the smallest logical element in a novel, below the chapter and above the paragraph.
To launch the import operation, go to “File > Create new project > From document”. It's as simple as that. As in “normal” mode, you'll be asked to give a title, choose where to create your project, and provide general information.
If your project is already at an advanced stage, and if it's at all voluminous, you may have split it into several files. Being organized, you may even have created a file for each chapter, which is quite normal. What do you do then? The best thing to do is to create a file that summarizes the entire project. In this summary document, you'll limit yourself to listing your chapters, following each level 2 title, the chapter title, with a short summary. In the end, you'll end up with something very much like a detailed synopsis.
You'll import this “synopsis” file. Then you can edit each chapter summary, which corresponds to a scene, to “link” to the corresponding “chapter” file.
You now have a working oStorybook project. But the advantage of the software is that it provides tools for checking the coherence of your story. For example, you can check that a particular character is consistent with the logic of the story. The next step is to define the elements of characters, items and locations, and link them to the scenes.
Of course, you can do this manually, but it can be time-consuming, and there's a quicker way: you can analyze the text to determine who appears in which scene. This is done via the “Tools > Links” menu.
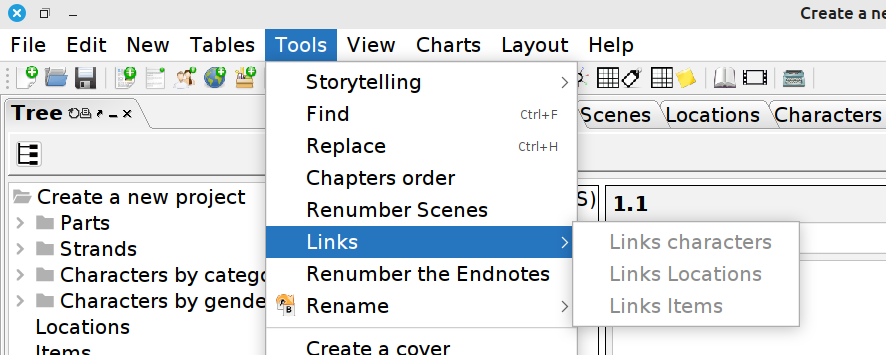
Before using it, you'll need to create the various characters, locations and items. There's no need to go into too much detail at this point. For characters, simply limit yourself to Last Name, First Name and Abbreviation (or nickname). For items and locations, the Name is sufficient at this point.
Text search and analysis is limited to what is entered in oStorybook. Note that in the example above, the elements in the Links menu are grayed out and therefore unusable. Why? Because I haven't defined any characters, locations or items. So any analysis of the text would be completely useless.
The (re)-construction of links between scenes and characters, locations and items, consists in finding out whether the name of the element is cited in the text. For characters, we look for the association of last name-first name, or first name- last name, or the abbreviation surrounded by square brackets.
If, by chance, a character is mentioned in a scene but doesn't actually take part in it, you risk finding him or her as a participant in the scene, when in fact he or she isn't there.
For example, in your detective story, a suspect has been imprisoned, so he's in a cell. In their office, the investigators discuss the exhibits and the suspect, but there are only two of them. Since they're talking about the suspect, if you're not careful, the analysis may assume that the suspect is in the same room as the investigators. It's up to you to find a trick to avoid this. In any case, you can always return to these lists manually in the scene editor, via the links tab.